Once you have Picture It installed on your Shopify account, you'll be directed to the homepage. From here, you can start adding live previews to your products by following these steps:
Select a product you'd like to activate. Click "activate" to add the live preview.

When clicking "Activate", you will be given options on how to activate your products:

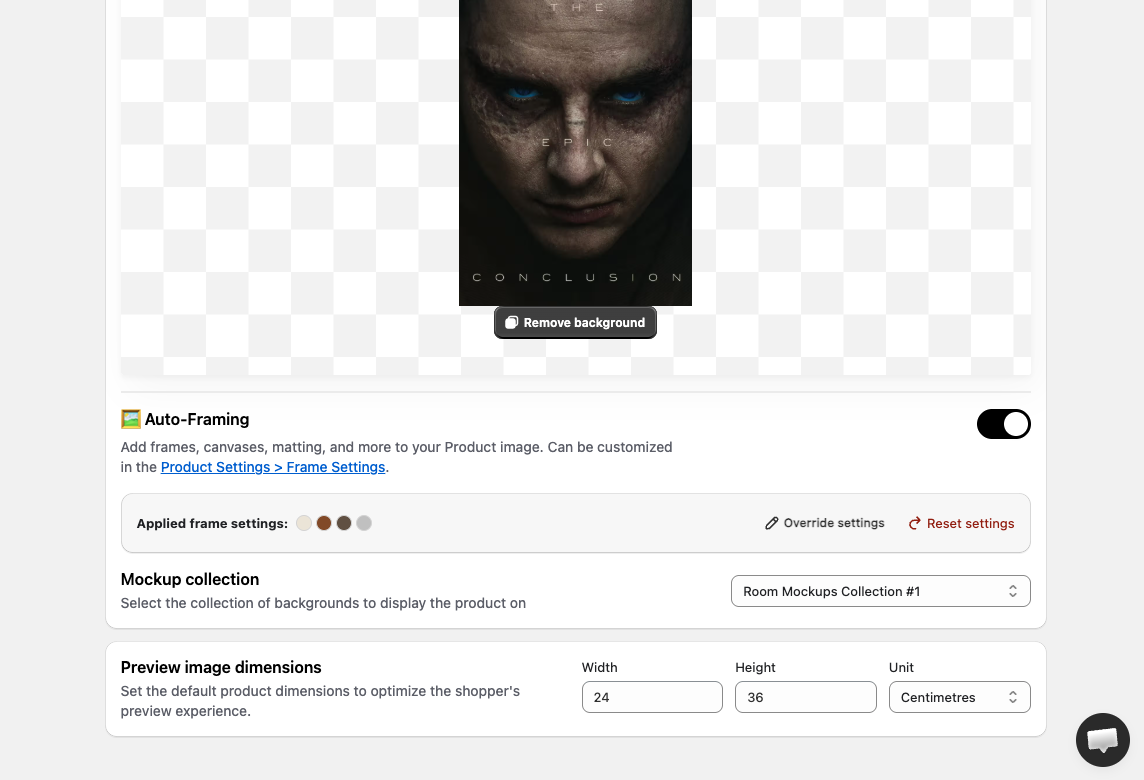
Once you activate a product, you can edit the main preview image (the "parent"), remove any backgrounds, set the parent image's dimensions, and do the same for its variants.

If you have variants, all dimensions will be imported if formatted correctly. You can always edit these directly.
🖼️ Auto-Framing: If enabled, Picture It will take the product image and allow you to add and customize frames around it for the 3D preview. You can override and customize frames per product.
Activated products will show the Live Preview button. This can be customized in the Settings page, or be embedded and customized directly as an app block in your Store's Theme Editor.
Learn how to add the preview button here!


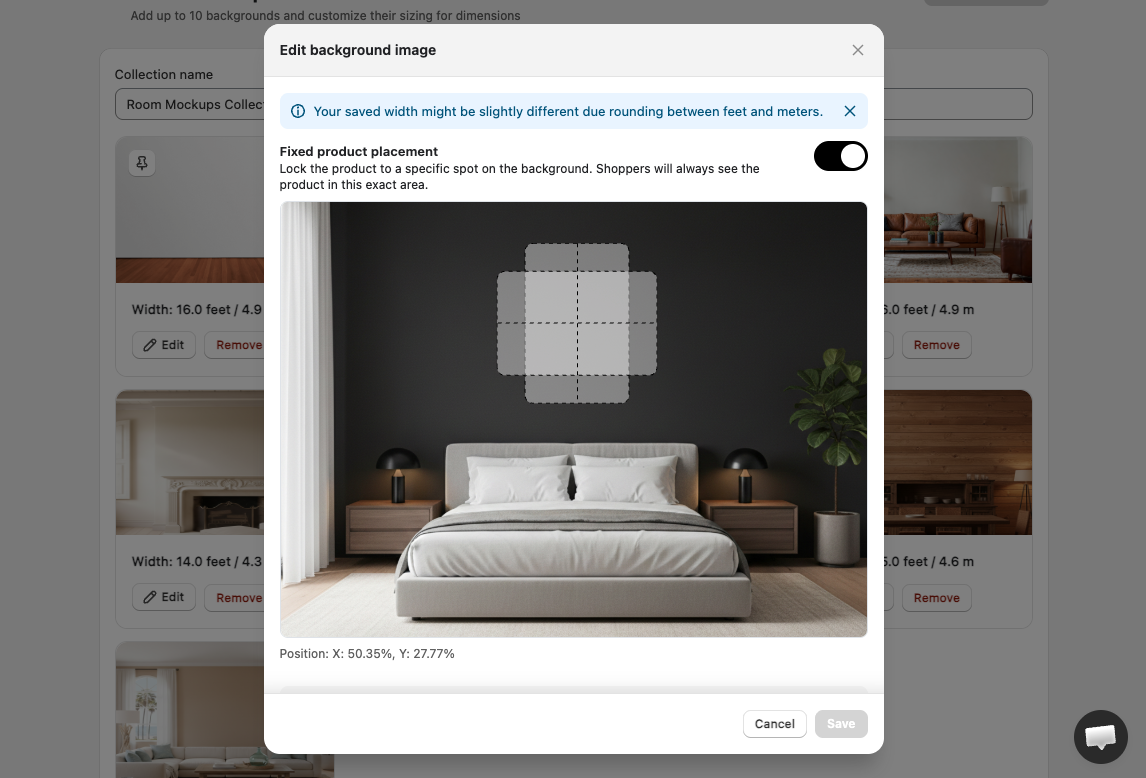
To customize your Room Mockups and its backgrounds, navigate to the "Virtual Showrooms" page. Each collection will contain a set of customizable backgrounds. Once in a background collection, you can select or upload background images to use and edit their widths so that your products fit into the image realistically.

When editing individual rooms and backgrounds, you can select whether you want to fix the products in a specific location or not. Just click Edit > Toggle on Fixed product placement.
Preview your activated products and see your virtual showrooms and augmented reality in action!

For more questions, contact help@pictureit.co.
Install Picture It for a 14-day free trial, cancel anytime.